Photogrammetry Breakdown: Taking Photos
See all parts of this breakdown: Photogrammetry: making Nanite meshes for UE5
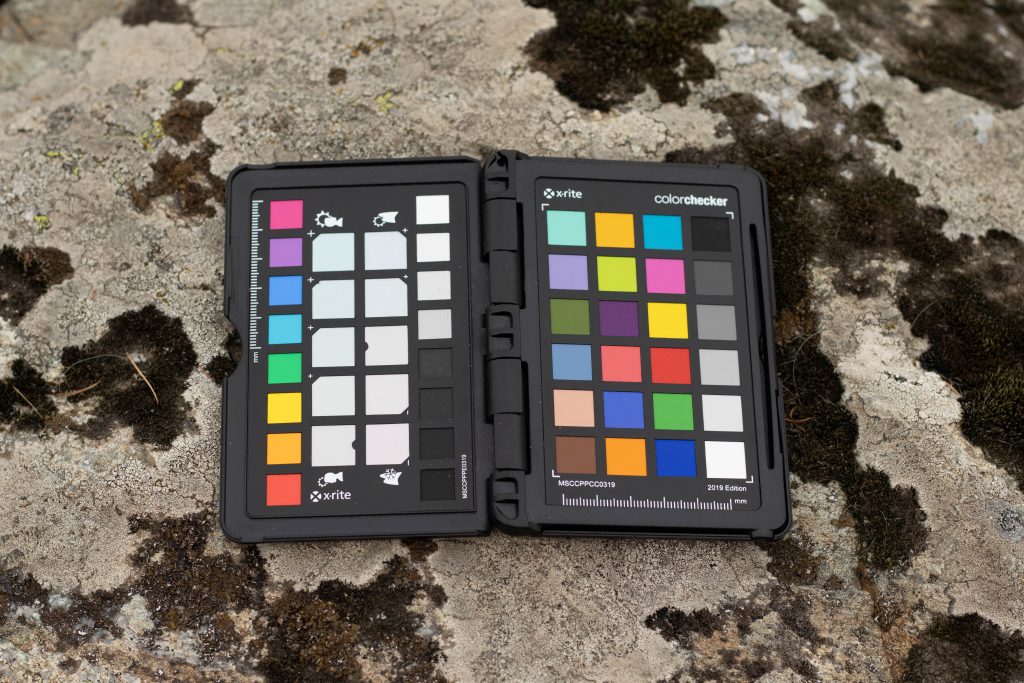
Strong sunlight and water are not good for photogrammetry, so we try to do it during a cloudy and dry day. Once we found the subject, let’s say a rock or a wall, we will first put the Colorchecker (we use Xrite Colorchecker Passport) near the subject and take a good big photo of it, that photo will be used for calibrating color and white balance later.
Then we take many photos of the subject from every side, overview and details too. We use fixed 50mm lens or a zoom lens but not changing the zoom during shooting. We are taking pictures in RAW format. If you use jpeg then make sure your white balance is not changing during shooting (not Auto). The subject should be sharp, so you may want to adjust the aperture accordingly. More photos is better, with too few photos the program may fail to work or make a blurry scan. Typically you want to see every point of the subject in many photos. So like 100 pictures is not too much, some people are even making 1000s of pictures! Anyway once your scan is complete you can delete them all.
Read more: official tutorial about taking pictures for Metashape
Next: Preparing Photos