Photogrammetry Breakdown: De-lighting
See all parts of this breakdown: Photogrammetry: making Nanite meshes for UE5
“De-lighting” actually means removing shadows from the texture, making a good base color texture to use in Unreal. We use free Agisoft De-Lighter tool (official tutorial).
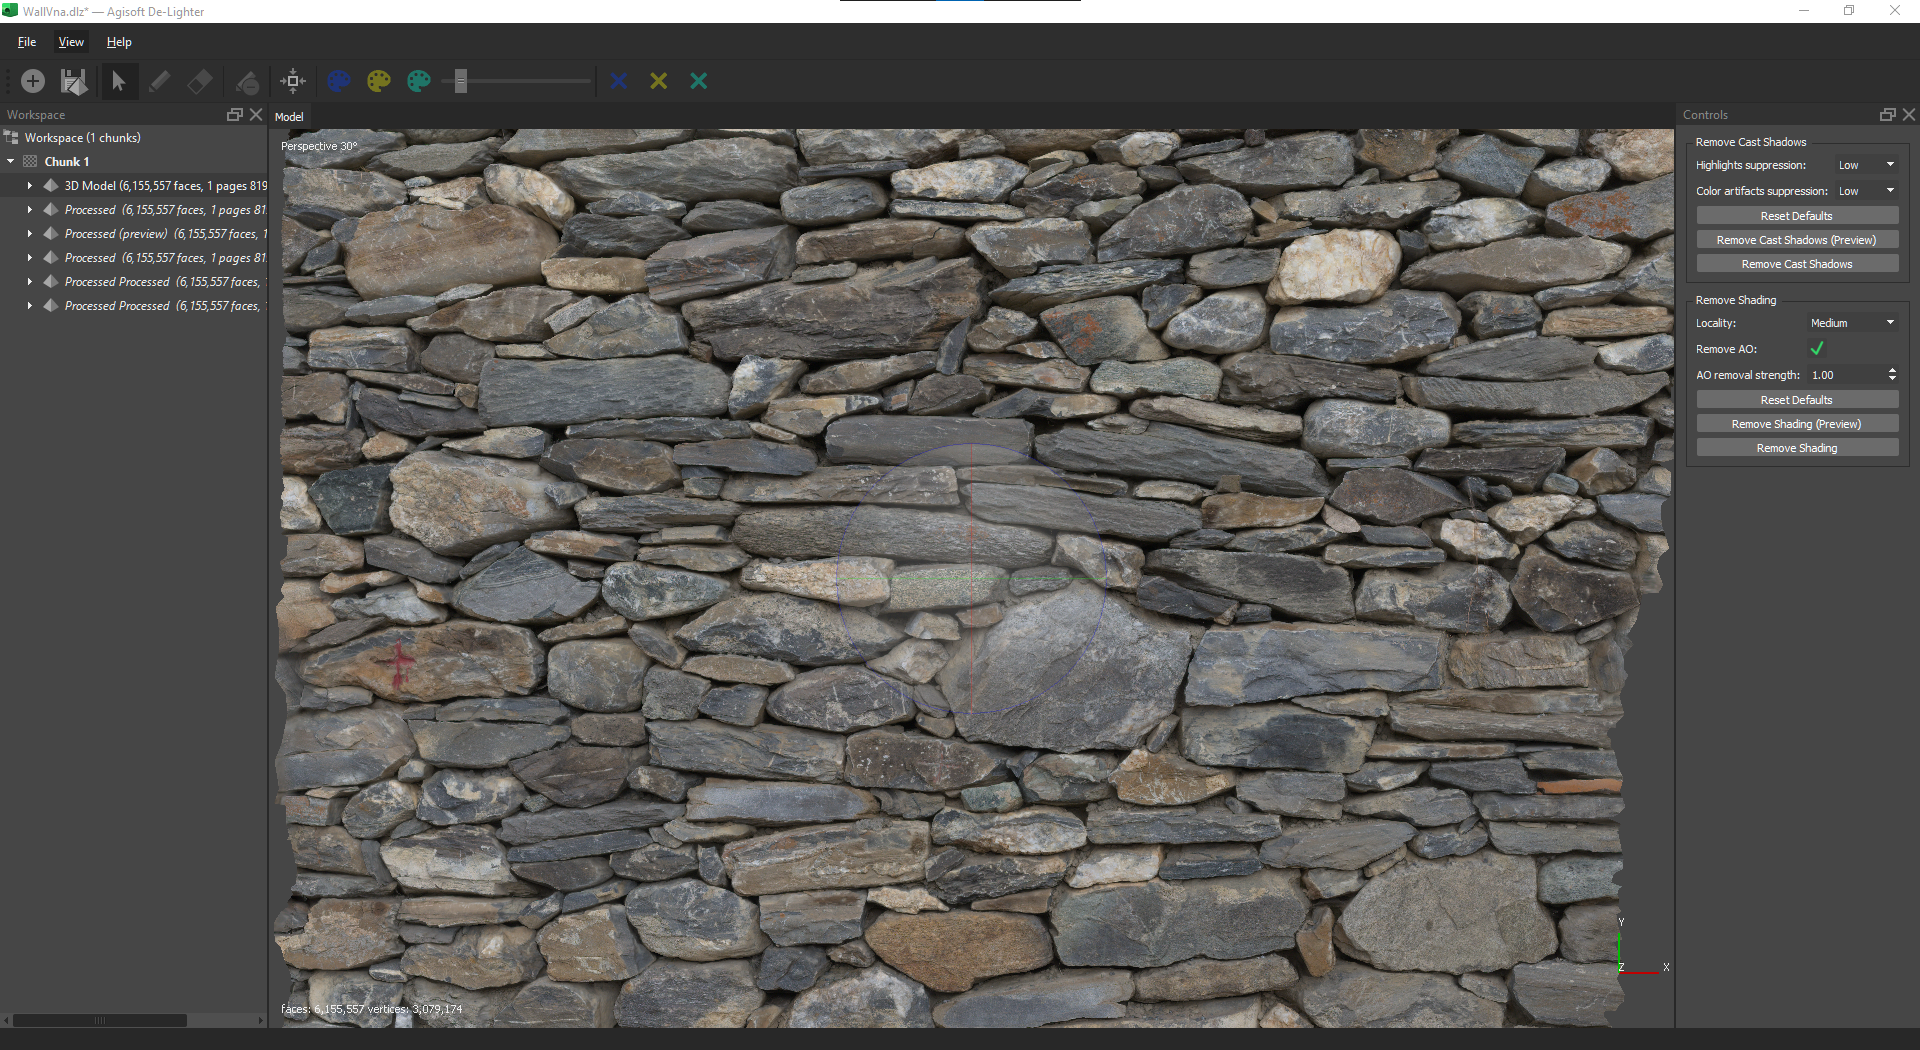
You start by importing the fbx produced by Metashape (or other program but there should by a texture).
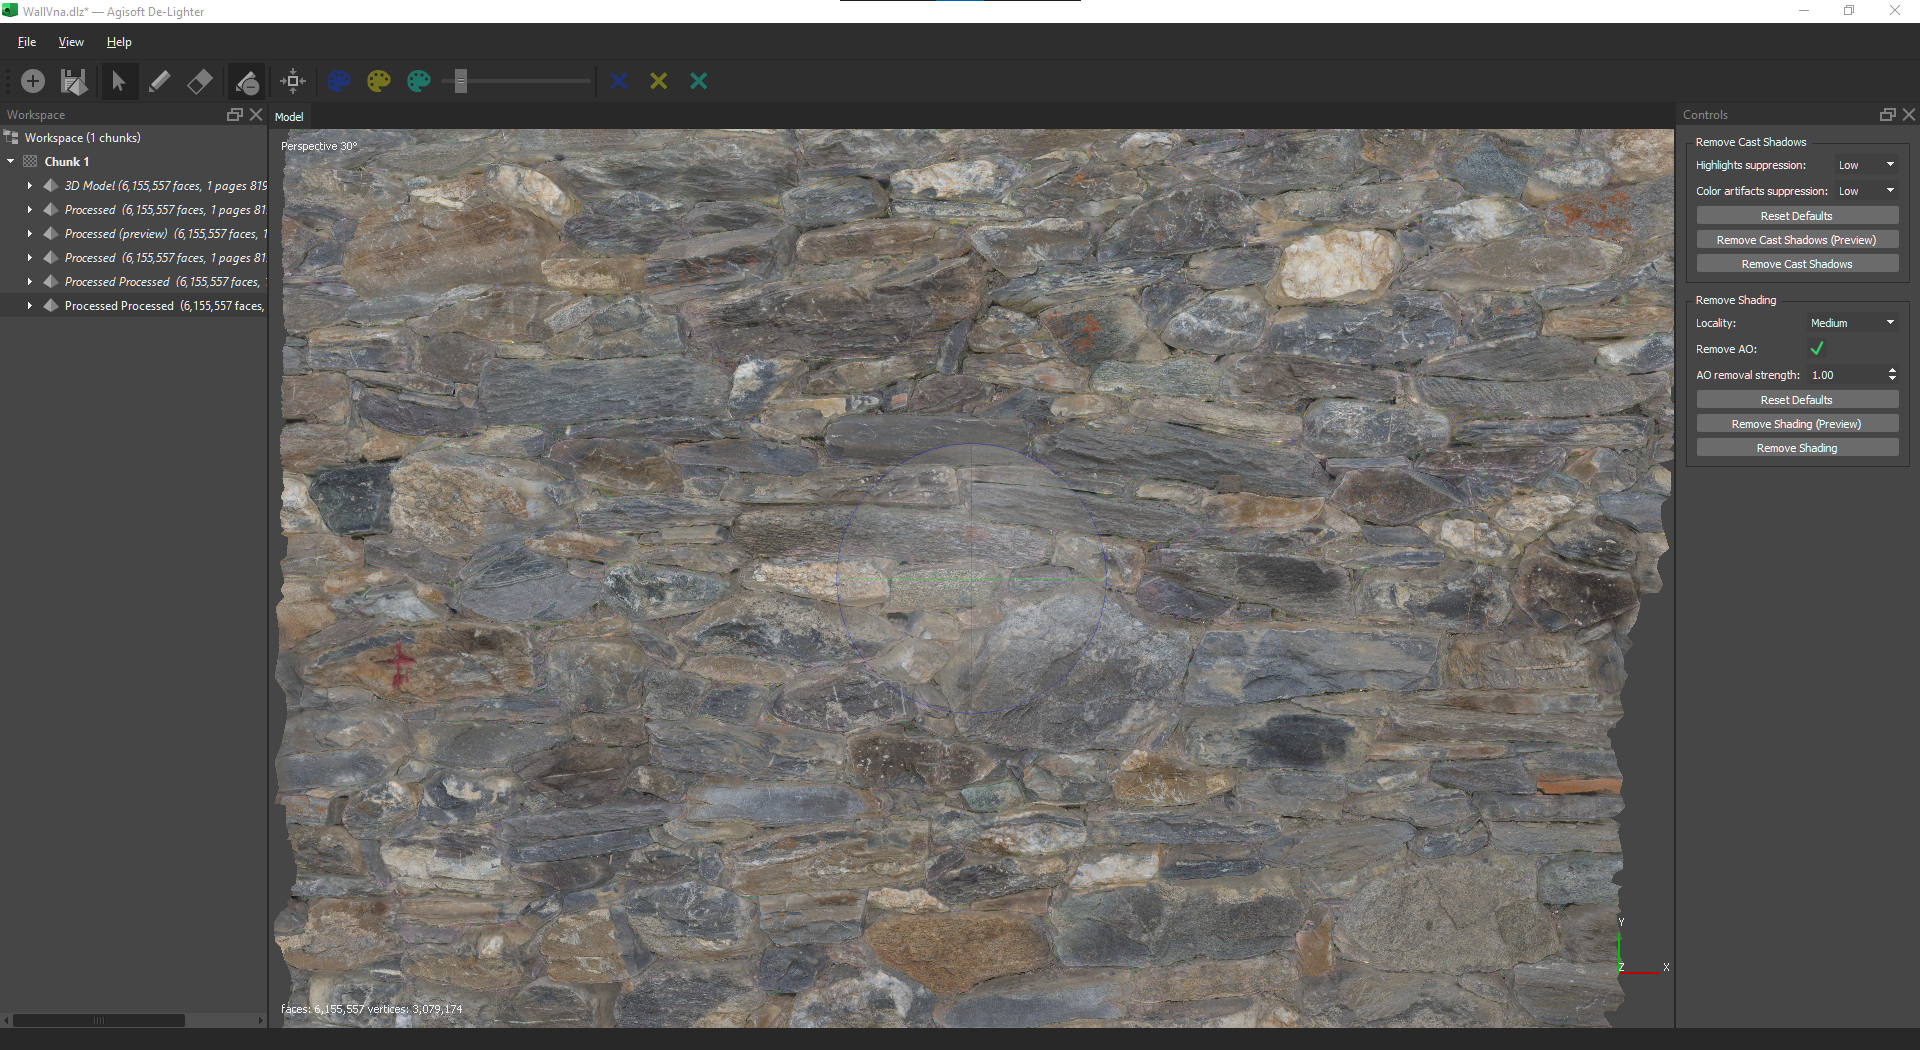
On the right side of the UI there are 2 main tools to remove shadows: “remove cast shadows” and “remove shading”. Remove shading is an automatic tool suitable for simple situations. We try it first and if it works use the result.
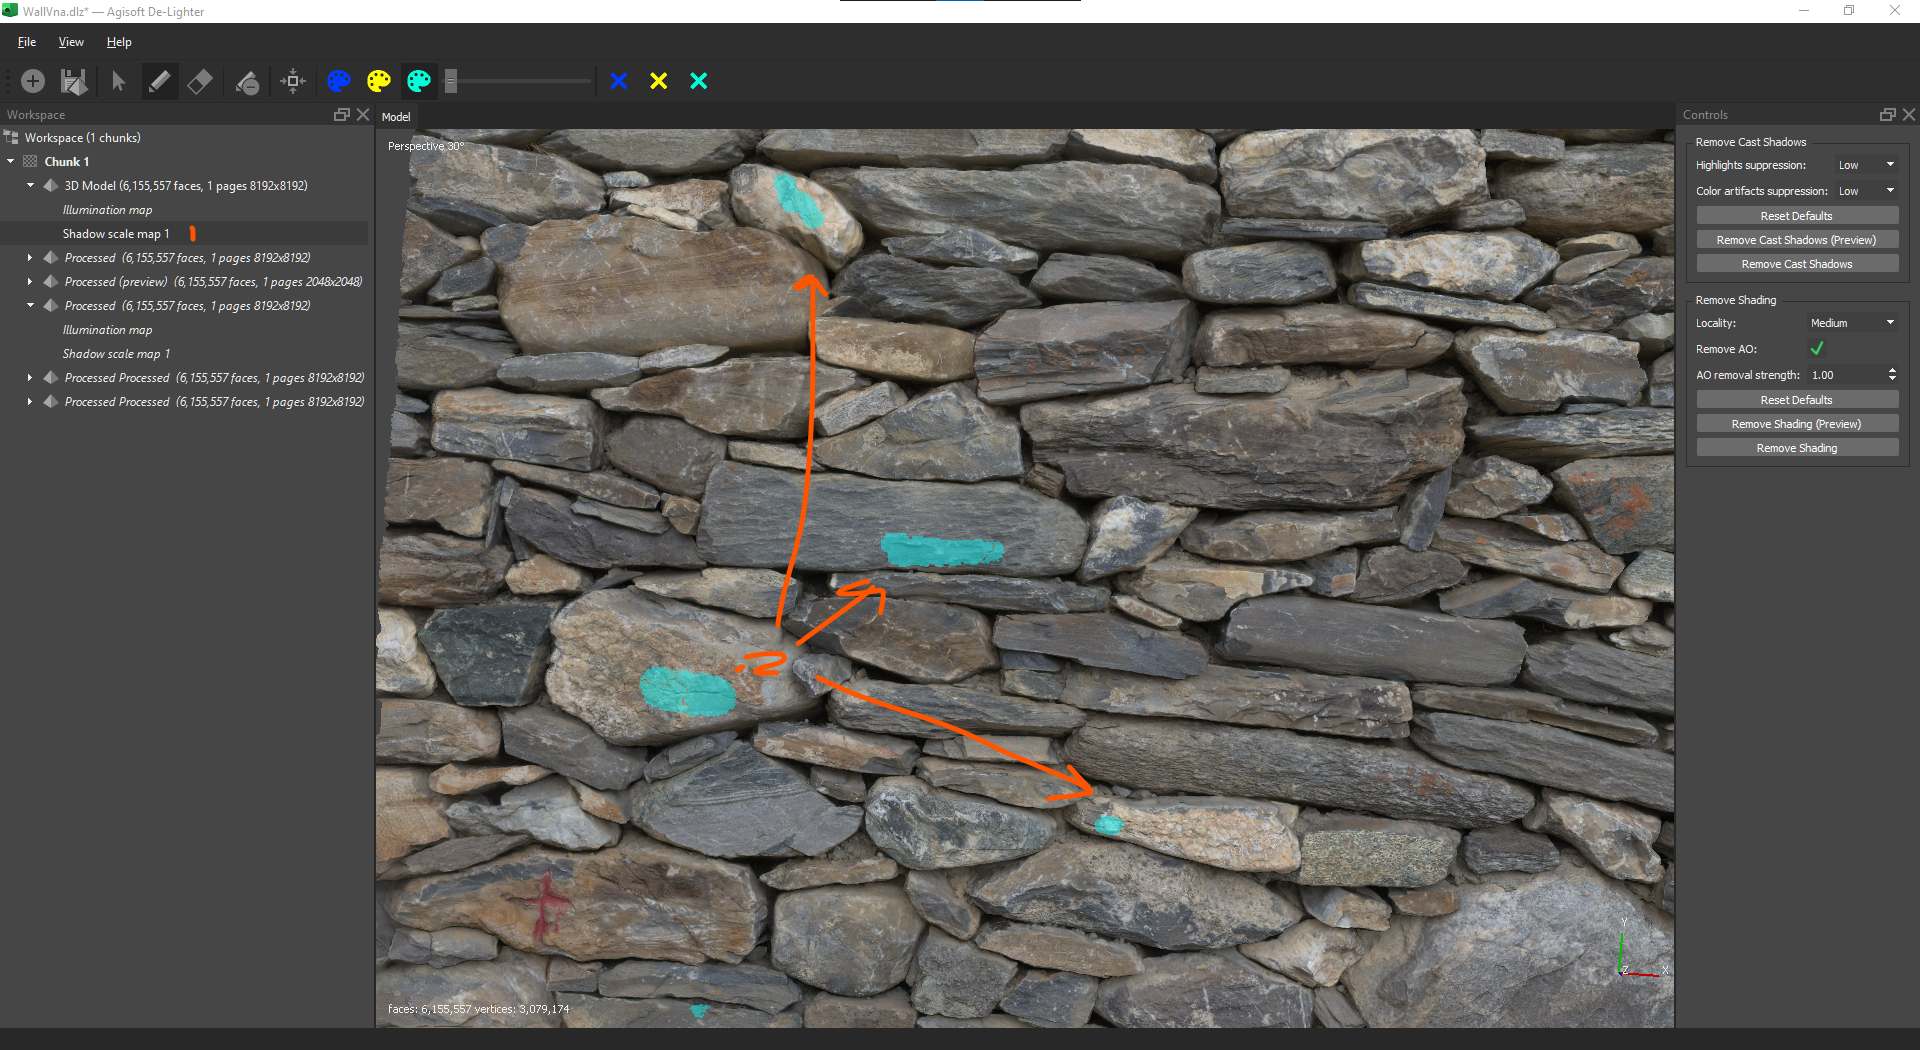
“Remove cast shadows” requires manual markup of lit and shadowed areas. You basically show the examples of lit areas and shadowed areas in your picture then the program tries to remove shading. To start we paint some yellow strokes in lit areas and blue strokes in the shadows (you don’t need to paint them all, just try to cover all materials, like here we try to show all different stone colors)

If the brushes (2) are grayed out then double-click on the “Illumination map” (1) to activate them. That also works with processed models. Check the other icons on the toolbar, you can erase the marks, hide them and change the size of the brush. Space bar switches between paint and rotate modes.
Once it’s been annotated, use “Remove cast shadows” button to run the algorithm. Preview button use 1/4 resolution to speed things up. The process can create some unnatural color and light variation, it that case try to use different Highlight and Color suppression parameters to see which works better.
The delighting process can remove some dark colors that are not actually shadows (like dark spots on the rocks or paint etc.) To fix that you need to create another mask called “Shadow scale map” and annotate those places with third color (light blue). To create this mask right click on the model on the left and choose “Add shadow scale mask”. Then paint with light blue color lit areas where you want to preserve dark details. To return to the illumination mask or another mask double click on it.
Run the preview again and once you are satisfied run the “remove cast shadows” at full res.
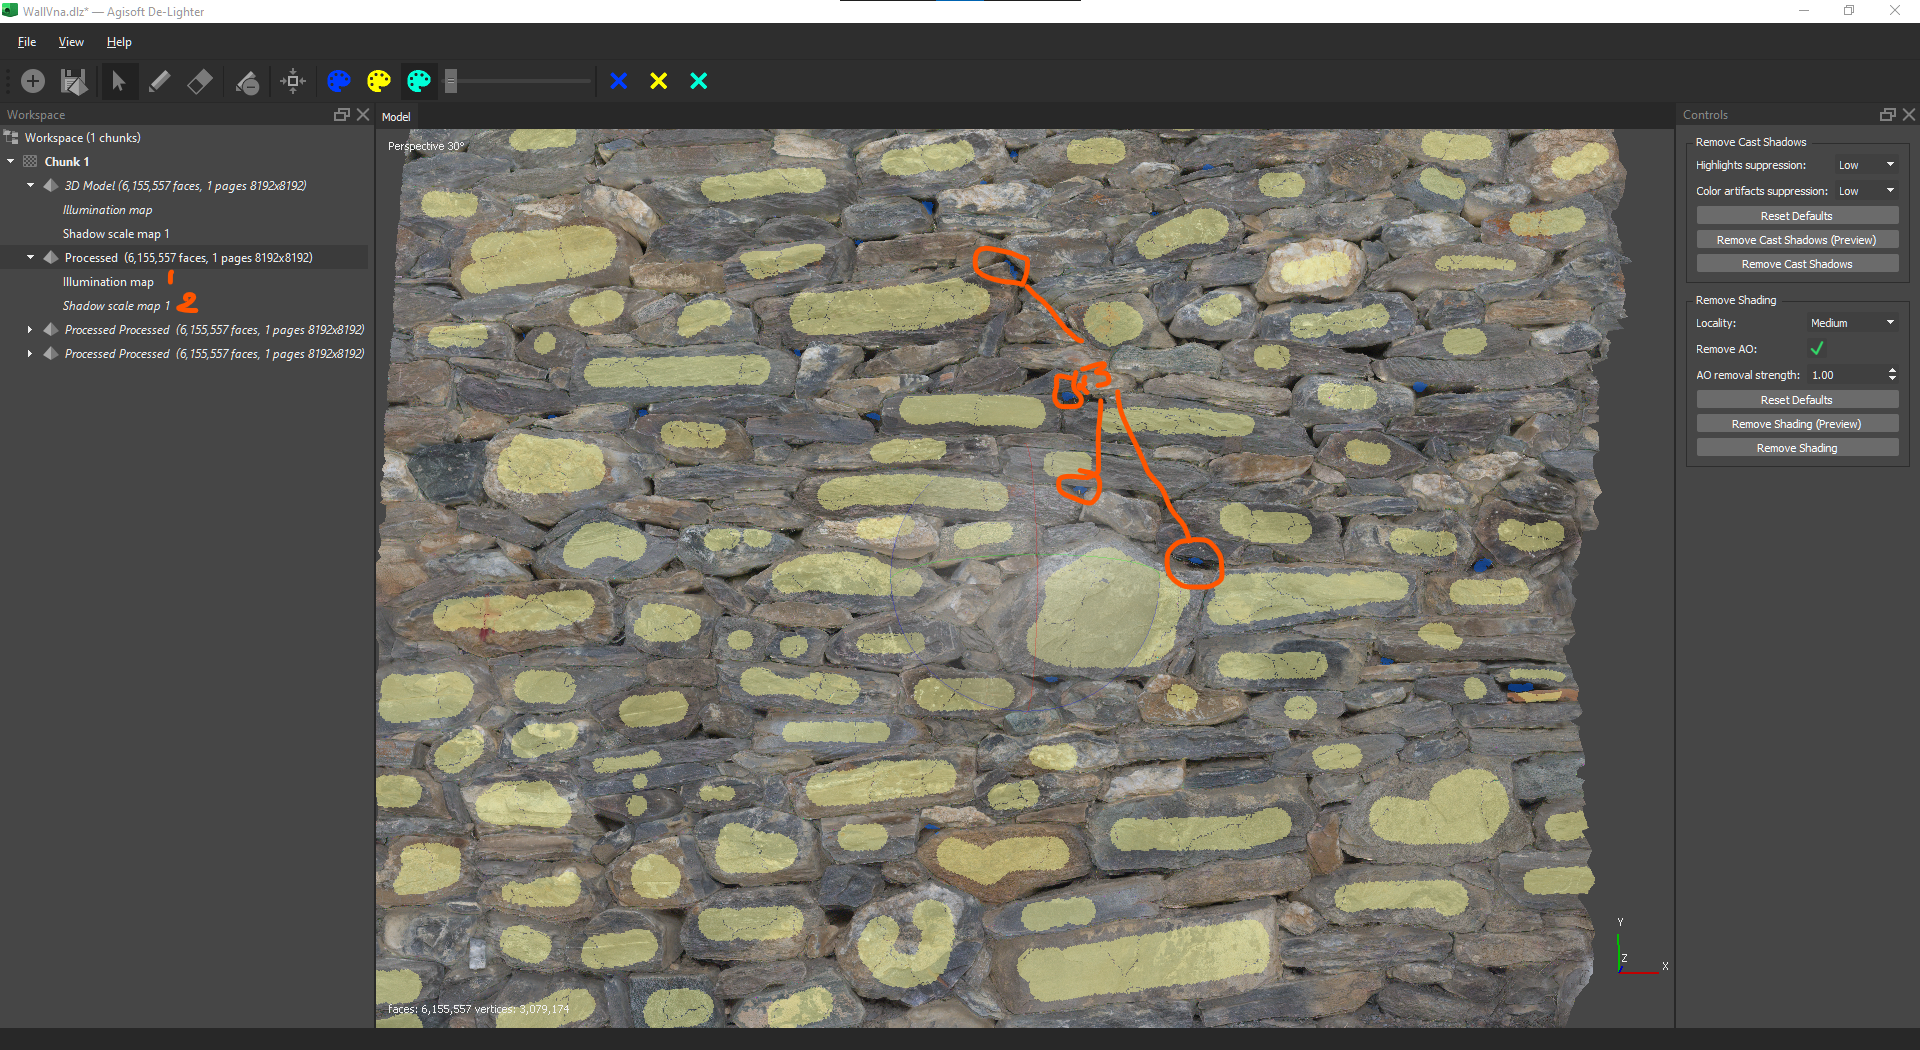
Sometimes this first step will not remove all shadows. In this case you can repeat the procedure on the Processed texture. First double click on the Illumination map of the Processed texture to activate it. Your original light/shadow markup from previous step will be copied here. What we did for this wall is to leave all yellow marks and but remove the blue ones (using blue cross on the toolbar) then repaint them in places that remain too dark (between stones). Finally, we will also create a new Shadow scale Map and protect the lit areas using it

When it’s done use “Remove cast shadows” button again and if it works well export the final result by right clicking on it and choosing Export model. It will export a new fbx (which we don’t use) and a texture, which we’ll use in the next step. We usually export in tiff of tga format.
Read more: check the official tutorial, in the end there are links to downloadable examples.
Next: Preparing Textures