Photogrammetry Breakdown: Reconstructing the Mesh in Metashape
See all parts of this breakdown: Photogrammetry: making Nanite meshes for UE5
To generate the 3D mesh from the photos, we use the Agisoft Metashape software.
First, create a new project and add the photos to it. There is not “too many photos” concept when coming to photogrammetry, but the more the better.
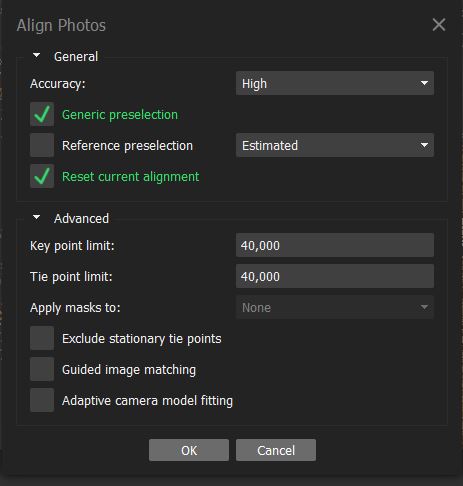
Once the photos are added, we proceed to align them. I’ve found the default values proposed by Metashape are suboptimal in most cases. For this reason, I augment the key point limit and the tie point limit to something like 40k. I set the accuracy to “high” and check “Generic preselection” to reduce the processing time. In some cases, I use masks too and apply them to tie points. In this case, it’s enough to setup the mask only on a few photos, Metashape is able to use it for all photos. Instead, if the mask is applied to key points, each photo should have a mask in order to have it working. I usually use masks on tie points when I scan an object rotating it on an almost uniform background. In my little experience is not useful or even deleterious when scanning a big rock in the nature.
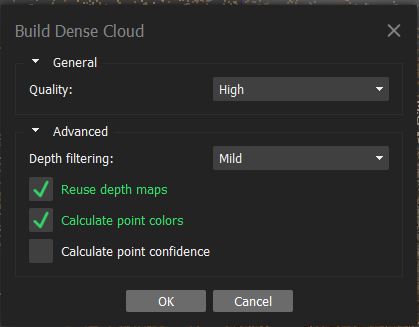
Once the photos are aligned, we see a cloud of points and we can already redefine the region of the scan reducing it to the object of interest without, however, making it too tight. After that, we need to build the dense cloud. I usually set the quality to “high”. If, for some reason, it’s not the first time I build it, I check “Reuse depth maps”, saving some time.
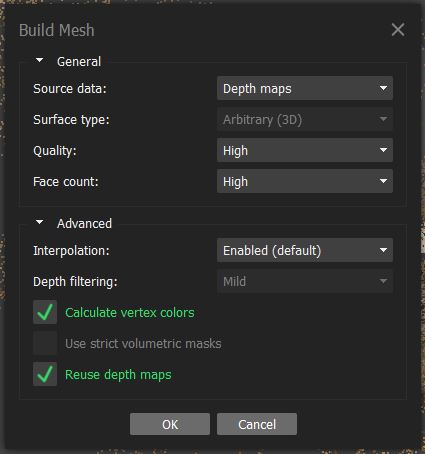
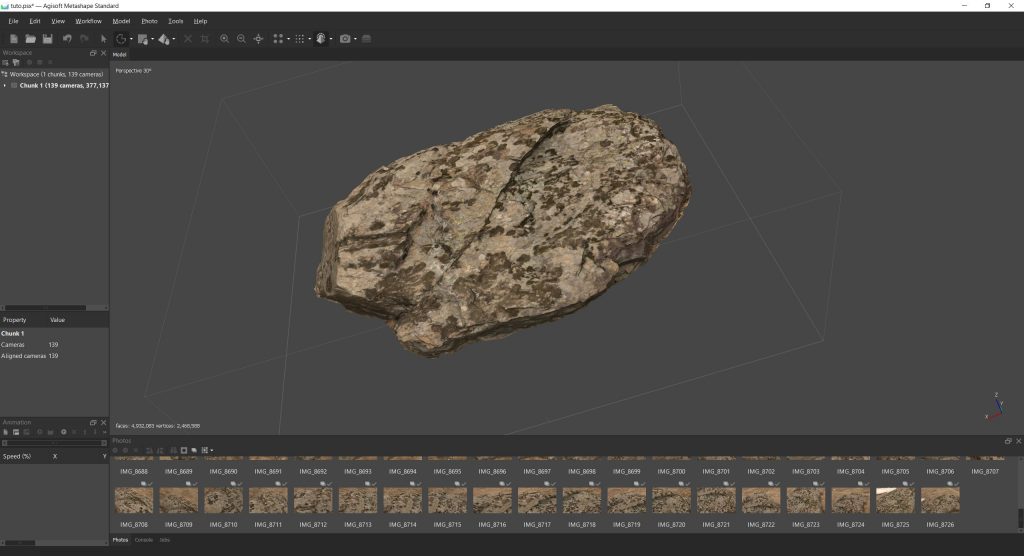
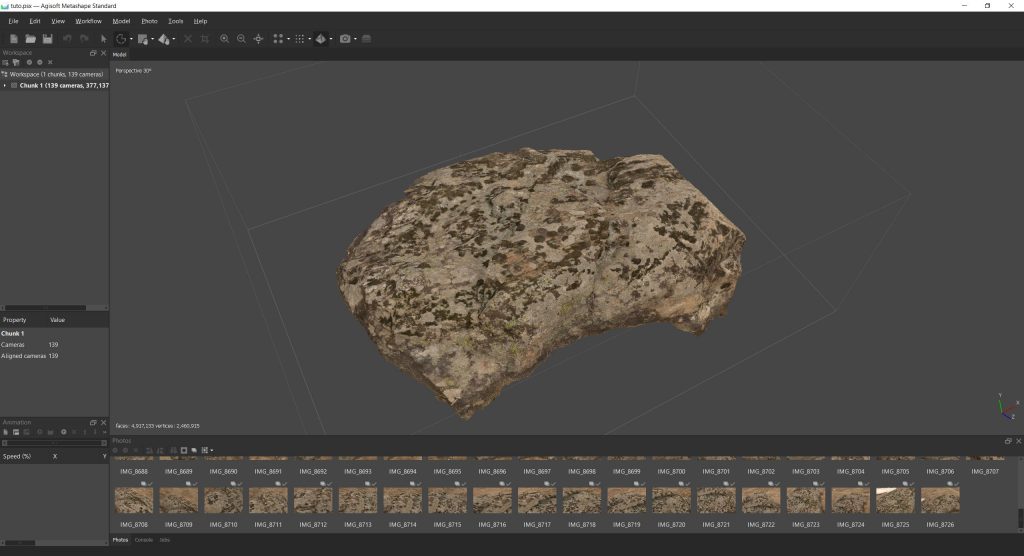
Once the dense cloud is built we can finally build the mesh. This is the place in the whole process where I change a lot the default parameters. As source data, I set “Depth maps”, as I have built them in the previous step. This save processing time. I set the quality and the face count to high and I check again “Reuse depth maps”.
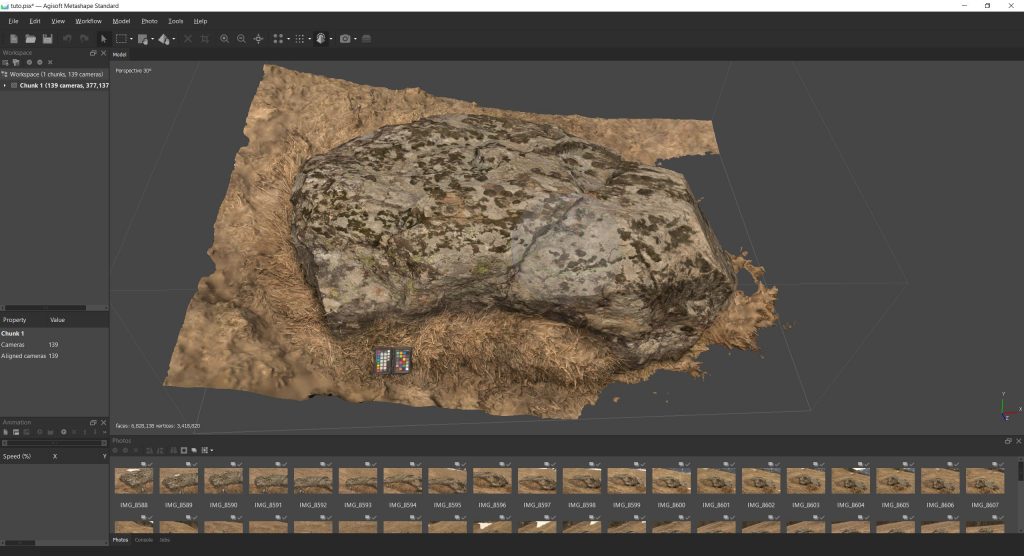
After some waiting, I have the mesh.
At this point, I select and delete all the parts I don’t need, with special attention to eliminate all flying polygons (they can cause a lot of problem in the retopology-UVing process needed later)
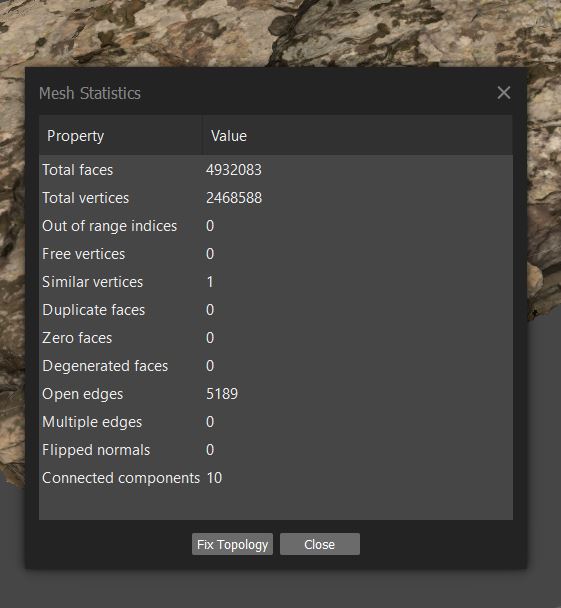
Once the cleaning is roughly done, I check the mesh statistics and fix them. I usually refine my cleaning and recheck the Mesh Statistics a few time, before I’m really satisfied with the result.
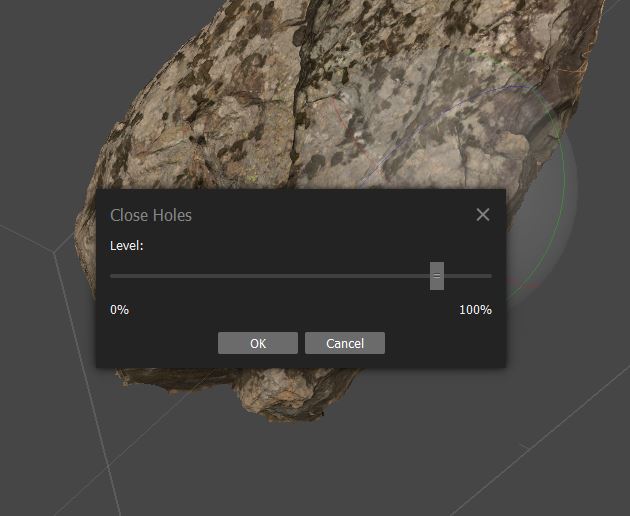
Once I’m done with cleaning, I use the “Close Holes” tool. I set it with the level quite high, but not 100% in order to have the small holes eventually present in the mesh closed, but not having it closing the bottom of the rock.
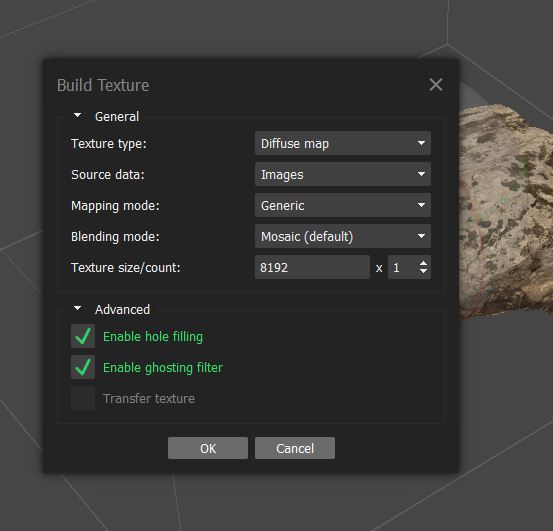
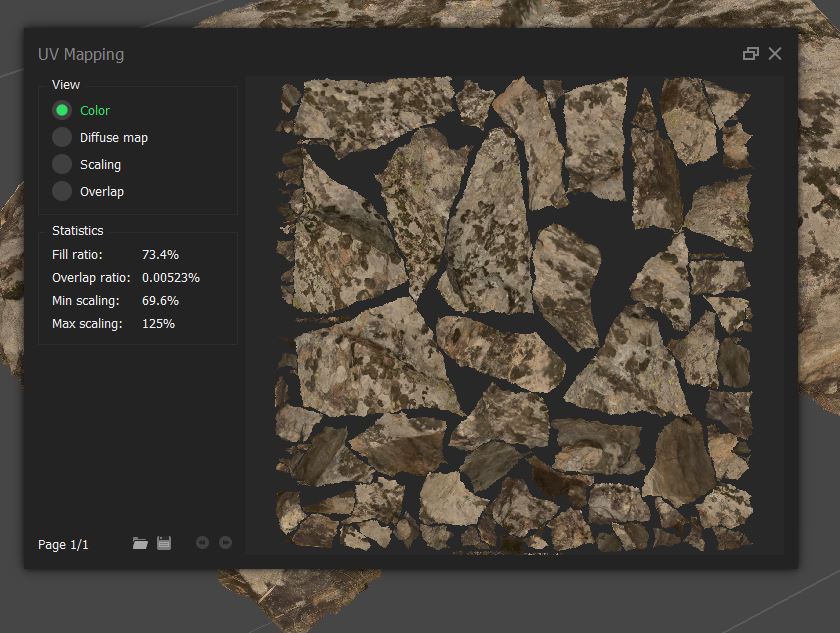
Once I think I’m done with editing in Metashape, I build the texture. I usually set a very high resolution because Metashape usually generate a lot of small UVs islands. Later, in zBrush I generate a more acceptable UV map and then transfer the texture using xNormals. The final texture that I import in Unreal Engine can definitively be smaller then the one generated in Metashape.
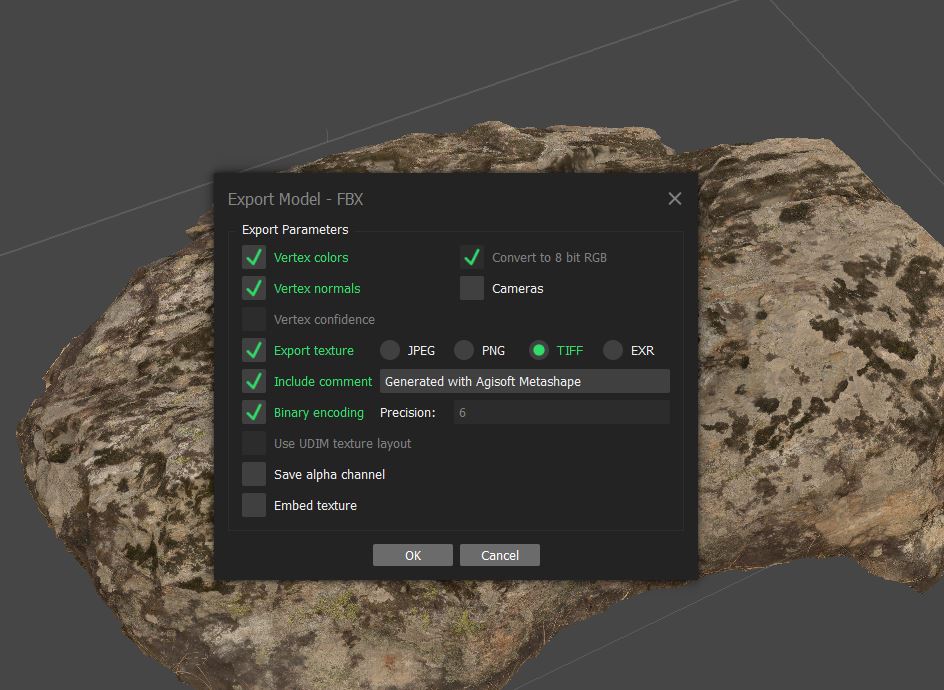
Finally, I export the mesh with its texture.
Next: Retopology and Re-UVing in zBrush